Design advice
What should you check before approving event artwork?
Check wording, panel placement, image quality and your selected products before approving event artwork. A practical guide to reviewing your Whizprint setup.
Give the final check a clear purpose
You have chosen your products and brought your artwork together. Before you approve it for print, take one more look with a different question in mind: does every detail match what you intend to receive? A striking design can still contain an old web address or put an important message on the wrong panel. Set aside a quiet review and work through the actual version sent for approval. If several people are involved, gather their comments into one clear response so the design team knows which changes are agreed.
Check the products before checking the artwork
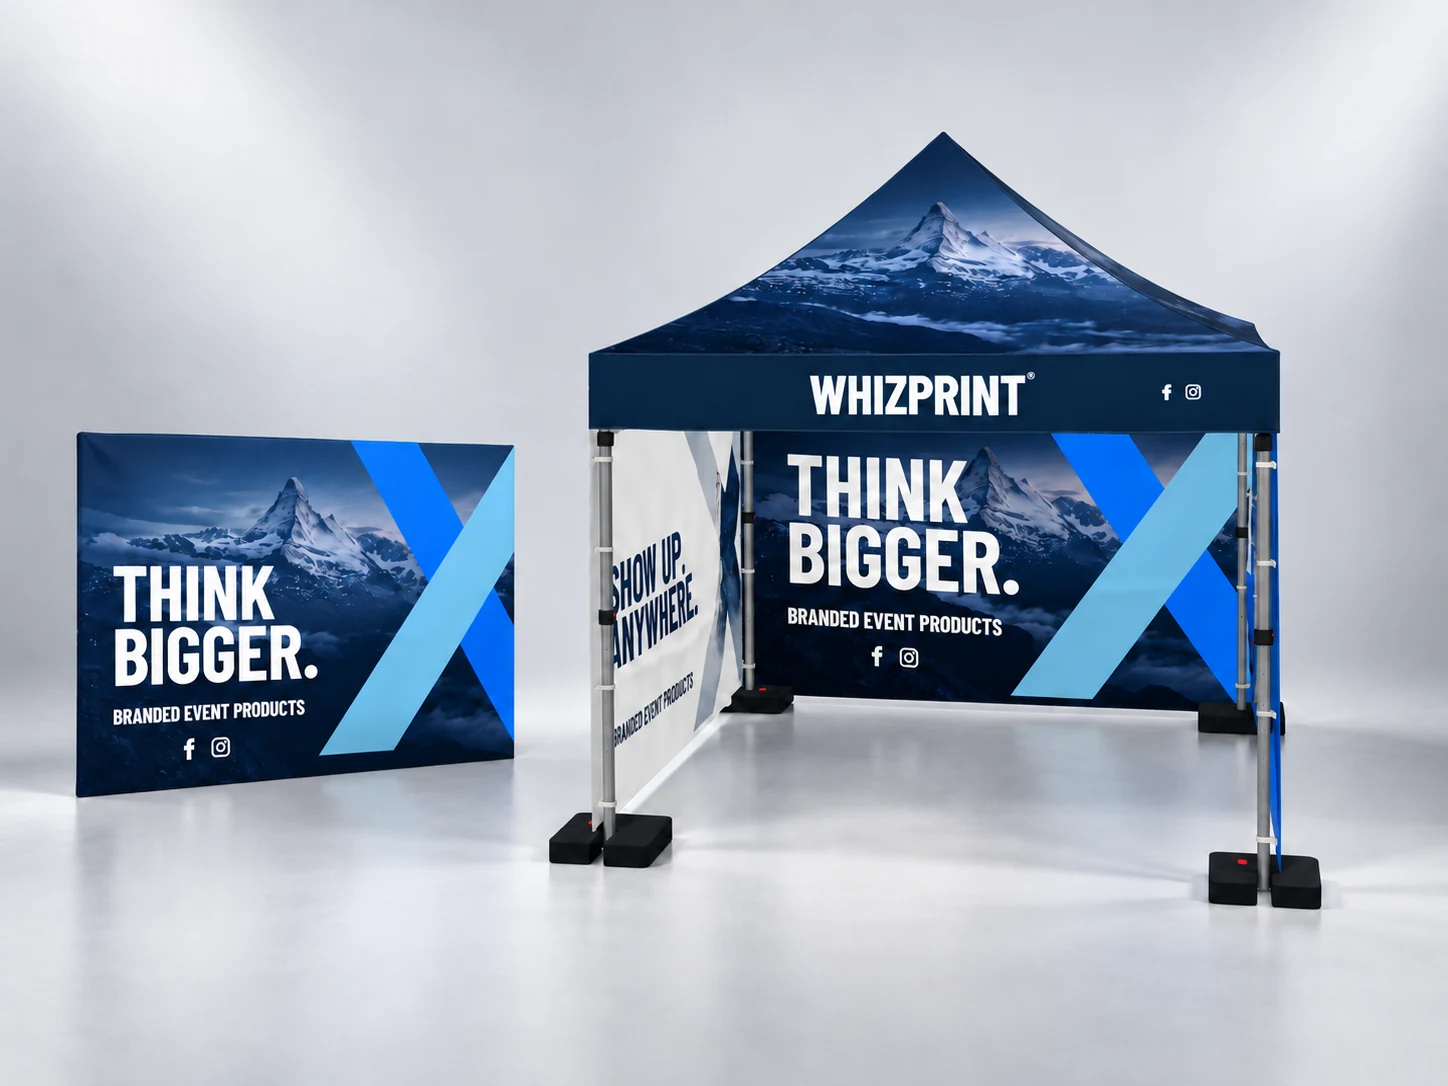
Start with the order details: product, size, quantity and selected printed surfaces. For a gazebo, check the canopy, valances and chosen walls against your intended layout. For a setup with several products, review each item separately before judging the overall look. A design shown on a wall you have not selected is not a substitute for adding that wall to the order. If the configuration has changed since your first design, confirm that the artwork being reviewed belongs to the current selection.
Read the words as if you have never seen them
Check names, spelling, punctuation, phone numbers, website addresses and social handles against your current details. Read small text as carefully as the main headline. If you have reused artwork from a previous event, look for dates, locations or offers that no longer apply. Ask a colleague to read the wording without telling them what it should say. When requesting a correction, quote the existing wording and provide the exact replacement, rather than asking for a general tidy-up.
Look at the flat panels and the complete setup
Use the flat artwork view in Studio to inspect individual printed faces without perspective. Check which panel you are looking at, the position of the design and any separately editable reverse face. Then return to the 3D view to see the products together. A table in front of a wall or another product beside it may change what visitors notice first. These views answer different questions: the flat view helps you inspect the artwork; the scene helps you judge the overall composition. Neither removes the need to approve the production proof.
Check image quality and tell us about colour requirements
If Studio flags an image as potentially blurry, review the uploaded original and the size at which you are using it. A larger original or a smaller placement may be more useful than stretching a small image across a whole panel. Do not assume a picture that looks sharp in a small preview will look the same at finished size. Screen colours also vary from printed materials. If a particular colour match matters to your brand, tell Whizprint before approval so the requirement can be discussed; a screen preview alone is not a physical colour sample.
Make change requests specific
In Studio’s review step, choose whether your design is finished or you would like help improving it. The design help route lets you leave notes while keeping your Studio artwork as a starting point. If you are asking Whizprint to create the design, include the brief and relevant uploads. For corrections, identify the product and face, then describe the change: for example, move the web address on the rear gazebo wall higher, or replace the logo on the left flag. Keep one agreed set of instructions rather than sending competing versions.
Approve the proof, not an earlier preview
Whizprint checks the design after purchase and sends a proof for approval before printing. Compare that proof with your requested changes, even if you have already checked the Studio scene. Flat artwork exports also need production approval; model dimensions do not by themselves establish the required bleed, seams or safe areas. If anything is unclear, ask before approving. Keep the approved version with your order information so everyone is referring to the same artwork.
Bring your setup together before the final review
Start with the printed gazebo range below or open Studio to put your layout together. Review each selected panel, then check how the products work as a group. If you want help with artwork placement or finishing a draft, choose design help in Studio and describe the changes you need. A clear brief and a careful final check give the design team a much better basis for preparing your artwork.