Event planning
How should you arrange a gazebo on a corner pitch?
Plan a printed gazebo for a corner pitch with two open sides. Choose wall positions, place your table and make your branding visible from both approaches.
Start with the two directions customers will approach
A corner pitch can give visitors two ways to find you, but only if the layout makes sense from both sides. Mark the public aisles and neighbouring pitches on the organiser’s plan before choosing walls. Then decide whether both open sides will be entrances, or whether one will be a serving edge. Those are different jobs: a table can work well at a serving edge but become a barrier where you want people to walk inside. Confirm the actual usable footprint and any restrictions with the organiser.
Choose the footprint before filling it
Whizprint Studio offers printed gazebos in 3 × 3 m, 3 × 4.5 m and 3 × 6 m configurations. Each has a 3 m depth, so the larger options add width rather than more space from front to back. On a corner pitch, check which aisle runs alongside that longer edge. Measure your furniture and stock containers, then mark out the layout before ordering. Leave room for people to stop and browse as well as for the gazebo itself. Include the space required for your selected anchoring arrangement.
Use the closed sides as a backdrop
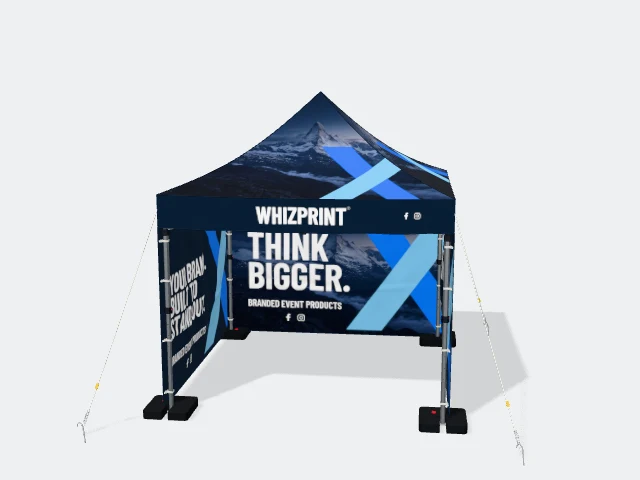
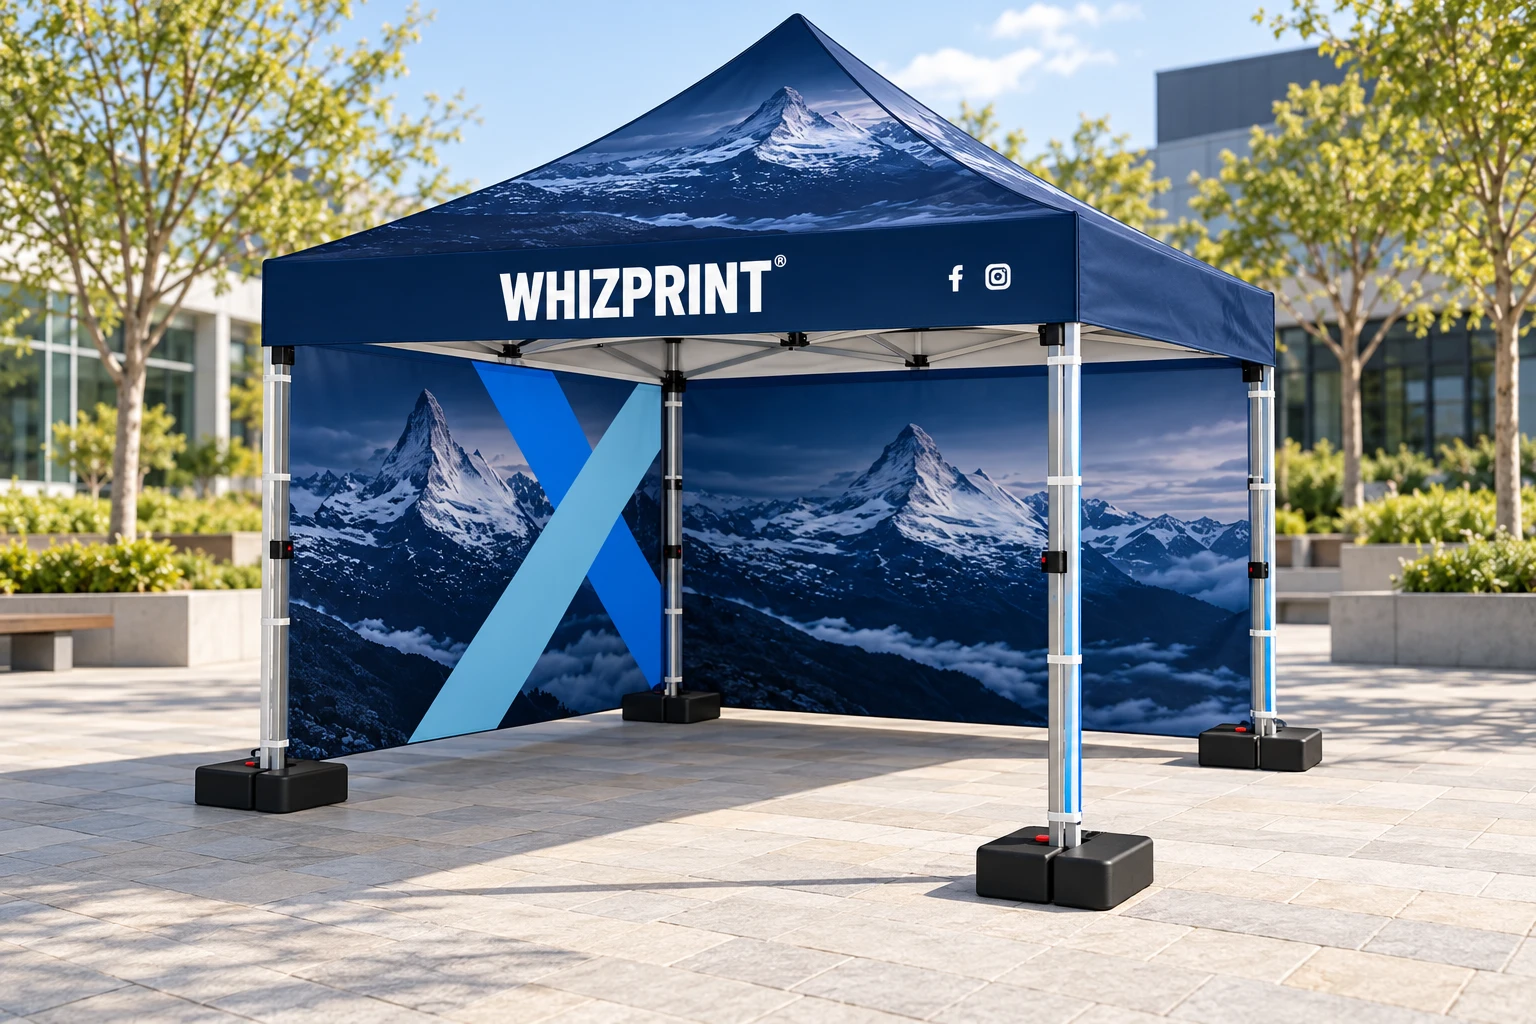
For a pitch with the front and right sides facing visitors, one starting arrangement is a full rear wall and a full left wall, leaving the front and right open. Reverse that arrangement if the public corner is on the other side. Studio lets you choose the front, right, rear and left wall separately, including open, half and full wall options. A half wall can define a serving side while keeping the view above it open, but it is not a walk-through entrance. Choose the layout around the activity rather than adding walls simply to create more print space.
Keep the open corner useful
The corner where the two aisles meet is a natural place for someone to notice your stand. Avoid filling it immediately with a large table, stock boxes or a flag base. Try a table along one edge, with a clear route beside it into the gazebo. For a serving stall, decide where people will order, wait and collect so those activities do not compete for the same small area. Walk through the arrangement with another person before committing to it, including anyone who may need more turning space.
Design for both approaches
Check the canopy and valance artwork from each public aisle. Someone approaching the side should be able to identify your business without first walking around to the front. Use a clear business name and a short description of what you offer, then keep detailed information closer to where conversations happen. Preview both wall faces if you are considering double-sided printing. A message that works as an interior backdrop may need a different layout on the outside. Keep essential wording clear of tables, equipment and the people staffing the stand.
Add supporting products without blocking the entrance
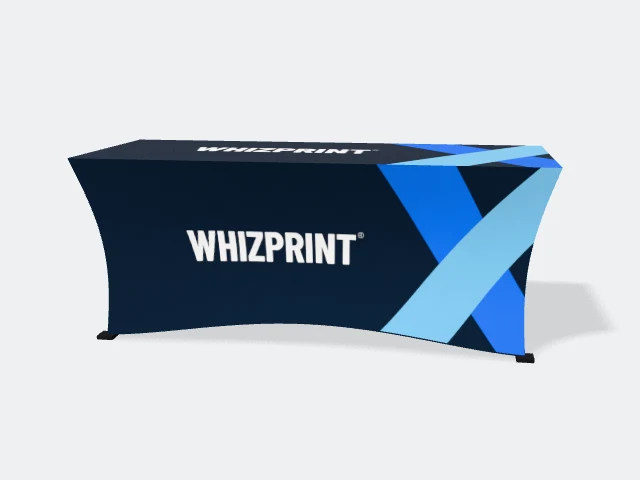
A printed tablecloth can carry the business name at the serving point, leaving the gazebo artwork to identify the stand from further away. A flag can help mark an approach, provided its base and the flag’s movement stay within the space you are allowed to use. Add these products to your Studio setup and inspect the arrangement from both open sides. Check the actual dimensions and installation guidance too. On paving, use a suitable weighting arrangement; ground pegs need penetrable ground. The illustration is not a specification for the amount of ballast your site requires.
Build the corner layout in Studio
Open a printed gazebo in Whizprint Studio, choose the size and configure each wall. Add your branding, then rotate the preview to check both visitor approaches. Compare the table and any flags alongside the gazebo, and review the current configured price before ordering. If you would like help arranging a particular pitch, use the Studio enquiry option and include the organiser’s plan, the open sides and the furniture you need to fit. That gives us something specific to work from when helping with the design.